

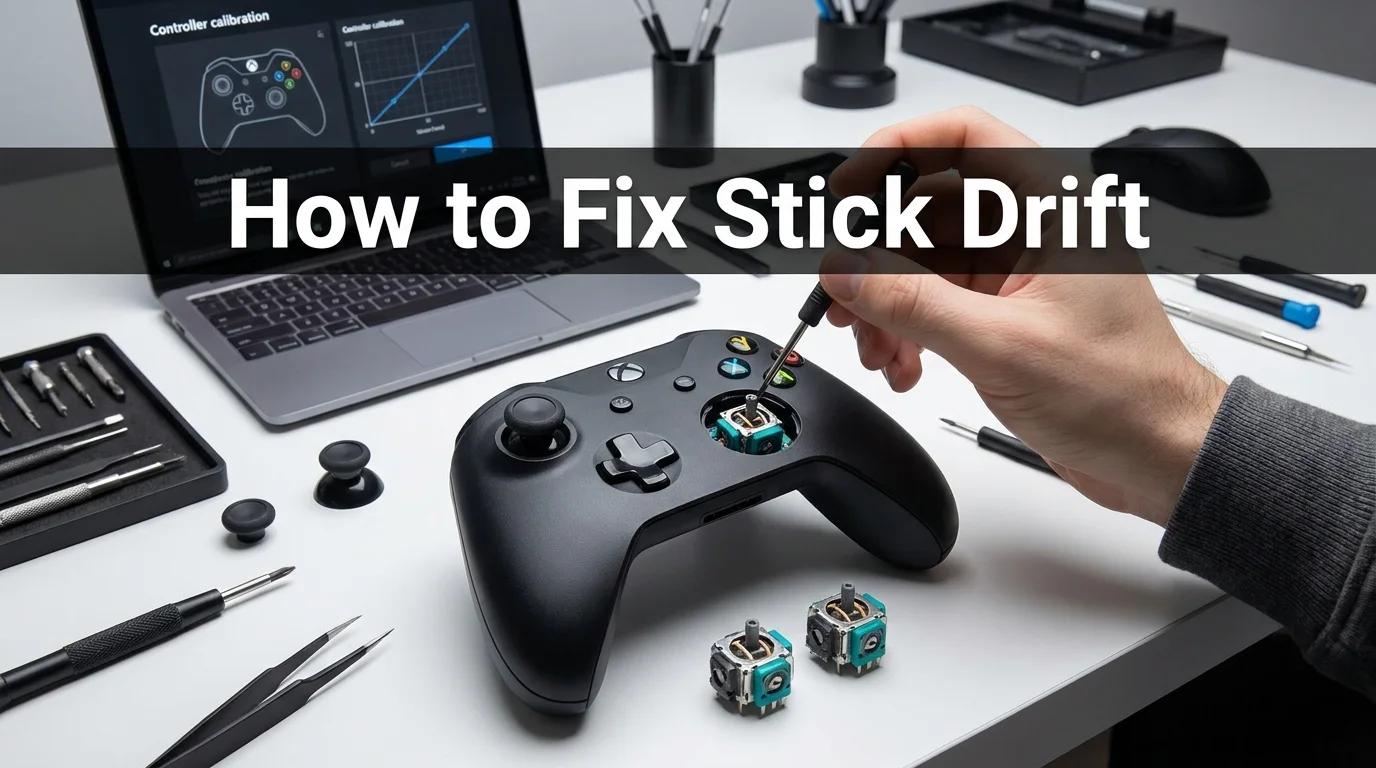
A drifting controller can make your character walk, camera pan, or cursor move while your thumbs are off the analog sticks. If you’re trying to learn how to fix stick drift, start with diagnosis, updates, and the correct reset or calibration procedure before opening anything. Mild problems may respond to cleaning or calibration, while recurring movement often indicates physical wear within the stick mechanism.
Start by confirming the controller sends movement while untouched. Then restart and update it; use the platform’s reset or calibration option; clean only the accessible stick area with model-safe methods; and raise the deadzone only as a temporary workaround. If the problem returns, the analog module may need service or replacement.
| What you notice | What it may indicate | Best first move |
|---|---|---|
| Movement appeared suddenly | Software, calibration, debris, or another input | Restart, update, and retest |
| Small steady movement near center | Minor offset or early wear | Calibrate where supported |
| Movement stops with a larger dead zone | Mild center-position error | Use the deadzone temporarily |
| Input jumps or jitters at rest | Dirty or worn sensor | Clean safely, then retest |
| Problem returns soon after cleaning | Physical wear is more likely | Check service or module replacement |
| Stick will not return to center physically | Mechanical damage or obstruction | Stop troubleshooting in software and seek repair |
Controller drift means the game receives analog movement when the stick should be resting at center. Many mainstream controllers use potentiometer-based modulesin whichre physical contacts move across resistive tracks and can wear out or become contaminated over time. Newer magnetic Hall-effect or TMR designs avoid that particular contact-wear mechanism, although no controller is immune to every mechanical or calibration fault.
If you regularly troubleshoot gaming gear, SciTechWiz’s gaming coverage is a useful resource for related controller and console guides. The goal here is to identify whether you have a setting problem, contamination, or worn hardware before spending money. That order matters because the cheapest fix is often the right place to start.
What You’ll Need Before You Start
| Item | Why you may need it | Important note |
|---|---|---|
| USB cable | Firmware updates, wired testing, reconnecting | Use a compatible data cable where required |
| Clean microfiber cloth | Exterior cleaning | Keep liquid away from openings |
| Soft, dry toothbrush | Cleaning around some stick bases | Nintendo recommends a dry brush for sticky Joy-Con controls |
| Compressed air | Removing loose surface debris | Use short, controlled bursts |
| Paperclip or similar pin | DualSense reset | Used for the rear reset button |
| 90%+ isopropyl alcohol | Model-specific surface cleaning | Use sparingly and only where appropriate for the controller |
Power off the controller and disconnect any movable batteries or cables before cleaning. Avoid pouring liquid into the controller because excess fluid can reach the circuit board or other components. For more general repair and component coverage, the SciTechWiz hardware section covers related troubleshooting topics.
How to Fix Stick Drift in 7 Steps
- Confirm that the controller is causing the movement. Place the controller on a stable surface and leave both sticks untouched. Watch a game menu, a controller test screen, or a compatible PC gamepad tester to see whether an axis continues to move. Disconnect other controllers or input devices so you do not mistake a second device for a failing analog stick.
- Restart everything and install controller updates. Fully restart the console or PC, then check for controller firmware updates before changing hardware. Xbox controllers can be updated through Xbox Accessories, while Sony provides DualSense device and software updates through PS5 Settings or PlayStation Accessories on PC. Nintendo likewise recommends keeping both the Switch system and controller firmware up to date before proceeding with deeper troubleshooting.
- Use the correct reset or calibration method for your platform. Xbox Wireless Controllers have a self-calibration tool in Xbox Accessories for minor thumbstick response problems, although Microsoft says normal wear-related drift may not be corrected by it. Standard DualSense controllers have an official reset procedure rather than a dedicated calibration menu, whereas Nintendo Switch provides a dedicated Calibrate Control Sticks option.
- Clean around the affected analog stick without flooding the controller. Start with a clean cloth, soft brush, and accessible surface debris rather than opening the shell. Nintendo’s U.S. support recommends using a clean, dry toothbrush and a soft cloth to clean sticky Joy-Con controls. At the same time, iFixit’s DualSense troubleshooting guidance describes using 90% isopropyl alcohol on a cotton swab around the thumbstick dome. Use model-specific guidance, as a single cleaning method should not be assumed safe for every controller.
- Increase the inner deadzone only if you need a temporary workaround. Many PC and console games let you increase the area around center where tiny stick movements are ignored. Raise it gradually until the unwanted motion stops, because an unnecessarily large dead zone can make fine aiming and steering less responsive. This changes how the game interprets input; it does not repair worn hardware.
- Retest the controller after every change. Return the deadzone to its earlier value when checking whether cleaning or calibration worked, or you may accidentally hide the problem. Test both sticks at rest and move them slowly through their full range to look for jumps, hesitation, or failure to return near center. If the same fault quickly recurs across different games or devices, hardware wear becomes a more likely possibility.
- Use warranty service, professional repair, or module replacement when the easy fixes fail. Check the manufacturer’s current U.S. service options before opening a controller, especially if it may still qualify for repair coverage. Persistent DualSense analog faults may require a soldered joystick replacement on standard models, while Nintendo’s U.S. support directs unresolved Joy-Con control-stick problems to its service request process. A repair shop is usually the safer option if replacing a soldered module would be your first soldering project.
SciTechWiz already has a broader library of step-by-step How To guides, and this repair path follows the same useful principle: change one variable at a time. Testing after every step tells you which action produced the improvement. It also keeps you from dismantling a controller that only needed calibration or a firmware update.
Xbox, PS5, Switch, and PC: Use the Right Platform Fix
| Platform | Software step to try | When to move beyond software |
|---|---|---|
| Xbox Wireless Controller | Update and use Xbox Accessories recalibration | Movement remains after calibration, or Microsoft’s tool reports no improvement |
| PS5 DualSense | Update software, then use the rear reset button | Reset and cleaning do not stop recurring unwanted input |
| Nintendo Switch Joy-Con / Pro Controller | System Settings → Controllers and Sensors → Calibrate Control Sticks | failsfailstion fa,,ils or the problem remains afterward |
| Windows PC controller | Update firmware, test wired, then adjust per-game deadzone | The same unwanted axis movement appears across multiple games or tests |
Sony instructs DualSense owners to power off the PS5, hold the recessed rear reset button for at least five seconds, reconnect by USB, and press the PS button. Nintendo’s U.S. calibration instructions route Switch owners through System Settings, Controllers and Sensors, and Calibrate Control Sticks. Microsoft’s Xbox tool is useful for minor response issues, but Microsoft explicitly notes that normal wear may remain after recalibration.
These differences matter because generic repair guides sometimes present calibration as though every platform handles it the same way. They do not, and a menu path that exists on Switch or Xbox should not be invented for a standard DualSense. Following the manufacturer’s procedure first reduces wasted troubleshooting.
Why Cleaning Sometimes Helps and Sometimes Doesn’t
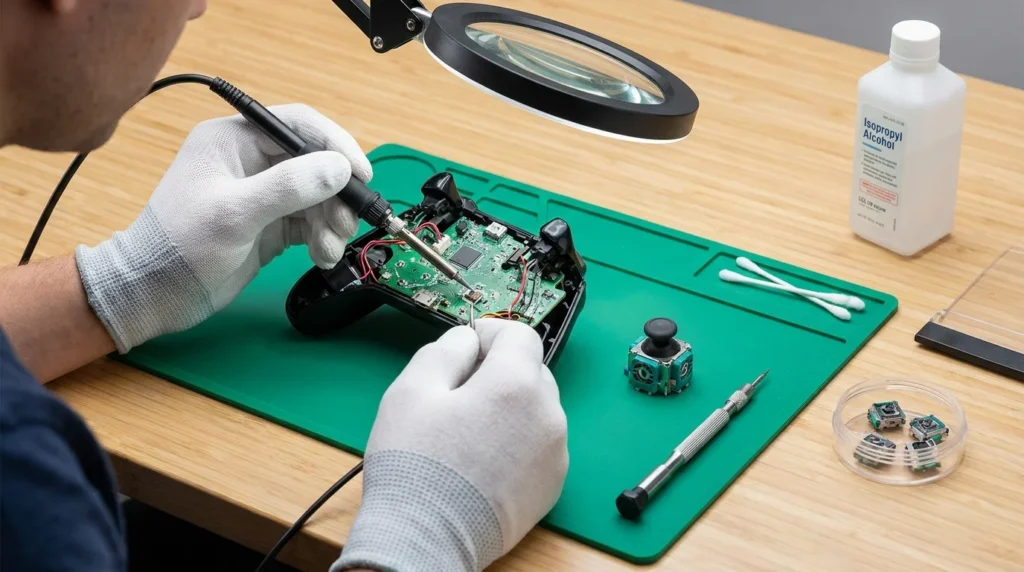
Surface debris can stop a stick from moving cleanly, and contamination near internal contacts can also produce unstable readings. That is why a careful cleaning step is worth trying before assuming the controller is finished. If cleaning produces no change, or the improvement lasts only briefly, repeatedly adding more cleaner is unlikely to solve genuine component wear.
Potentiometer-based modules rely on moving contact surfaces so that long-term mechanical wear can shift the electrical reading away from center. Recalibration may compensate for a small offset, while a dead zone can hide it from a game. Neither technique rebuilds a damaged resistive track, which is why persistent faults can eventually require a new stick module.
Magnetic Hall-effect and TMR replacements are often discussed as upgrades, as they do not rely on the same sliding resistive contact to measure position. That can remove one major wear mechanism, but the replacement still has to be compatible, installed correctly, and calibrated properly. Treat “drift-proof forever” marketing with caution because springs, centering mechanisms, circuit boards, and calibration can still develop faults.
When Should You Repair Instead of Replace?
Repair makes the most sense when the controller is valuable, otherwise works well, or can be serviced for substantially less than replacement. Premium controllers can also justify repair because replacing the entire device may waste working buttons, triggers, shells, batteries, and electronics. Before paying, compare the repair quote with the current replacement price for your exact model.
Replacement becomes more practical when several parts are failing, the battery is severely degraded, the shell or board is damaged, or repair costs approach the price of a new controller. If you choose a new model, consider serviceability and repthe availability of laceable stick modules rather than focusing solely on extra buttons or cosmetic features. SciTechWiz’s broader technology guides can support that kind of hardware comparison.
Get Your Controller Working Again
Begin with the free steps: confirm the fault, restart the system, update the controller, and use the correct platform reset or calibration process. Clean cautiously and use a deadzone only as a workaround, then stop repeating temporary fixes if the same unwanted input keeps returning. At that point, manufacturer service, professional module replacement, or a new controller is the sensible next move.
Frequently Asked Questions
Start by checking warranty or manufacturer service, then compare any repair quote with the current replacement cost. Repair is attractive when a single analog module is the only faulty component and the rest of the controller is in good condition. Replacement makes more sense when several components are failing, or the repair cost is close to the cost of a new unit.
No, a larger deadzone tells the game to ignore a wider range of small inputs near the center position. It can make a mildly drifting controller usable again without changing the underlying sensor. If the unwanted input grows stronger over time, the deadzone may eventually become so large that precise control suffers.
It can help with certain contamination problems, but it is not a universal cure for worn parts. iFixit recommends 90% isopropyl alcohol on a cotton swab around the DualSense stick dome, while Nintendo’s U.S. support recommends dry cleaning for sticky Joy-Con controls. Follow guidance for your specific model rather than pouring cleaner into the housing.
Yes, when the cause is a calibration problem, software issue, accessible debris, or a small offset that the platform can compensate for. Resetting, updating, calibration, and careful exterior cleaning can all be tried without opening the shell. Persistent wear inside the analog module may still require component-level repair.
Confirm that unwanted movement occurs when you are not touching the controller, then restart the device and update it. After that, use the manufacturer’s reset or calibration option before cleaning anything. This sequence rules out free software fixes before you consider repair.